The custom taxonomies are a simple way to organize your content. When you use a taxonomy, you’re grouping similar things together. The taxonomy refers to the sum of those groups.
Example: A listing type, called Cars, needs additional categorization like Vehicle type – Sedan, Coupe, SUV and so on… You can use the custom taxonomy to manage that categorization.
You can add unlimited number of taxonomies and attach it to multiple listing types.
How to create a custom taxonomy
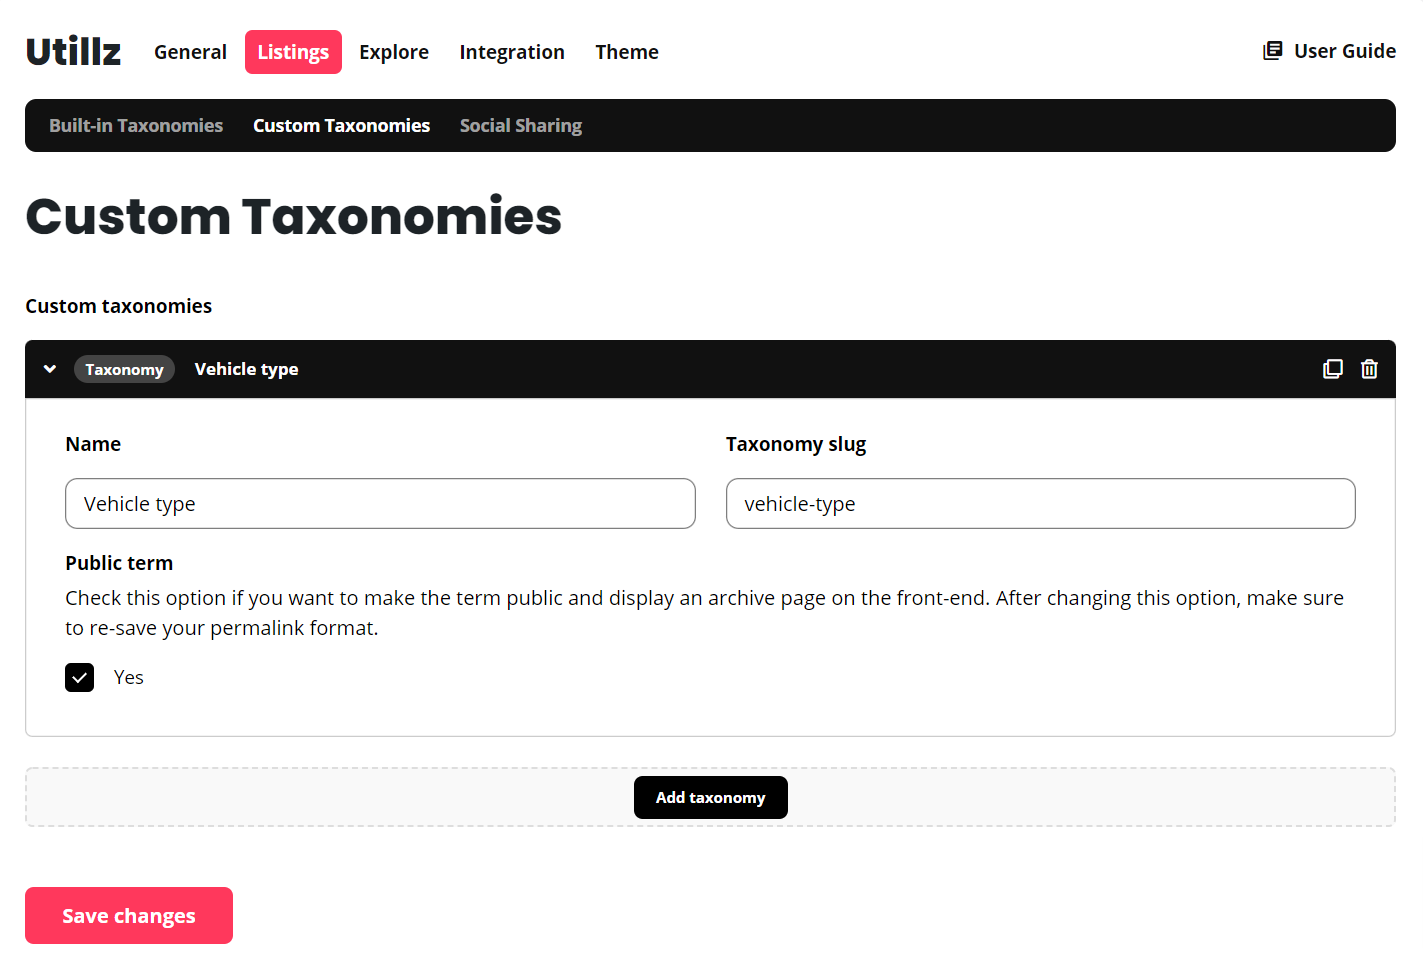
Continue by going to Listing types Settings Listings Custom Taxonomies and click Add taxonomy button.
The new taxonomy will appear in your admin sidebar, under the Listings tab. Click it, and add some terms.
How to use your custom taxonomy inside a search form
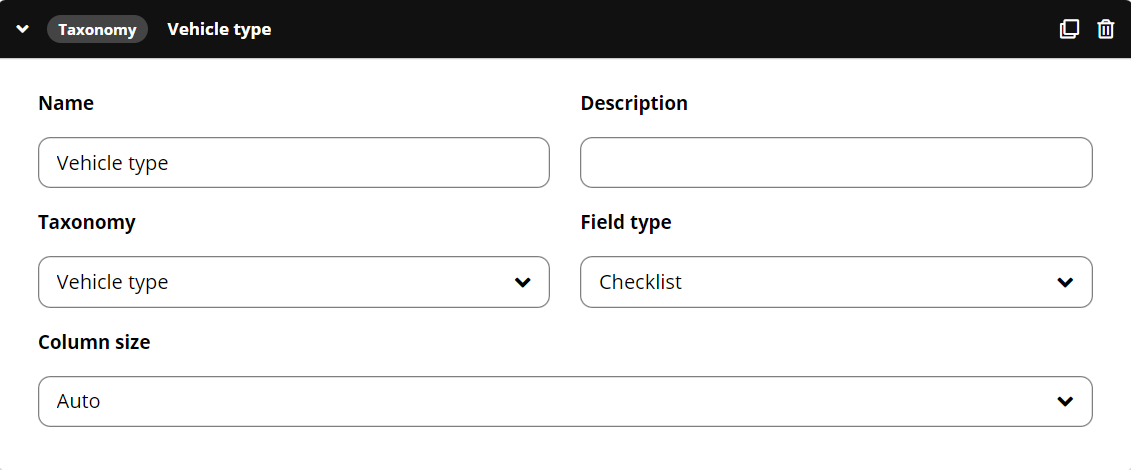
There are specific search fields, that allow you to do that search form, like the Taxonomy field type.
Use taxonomies inside the single listing page
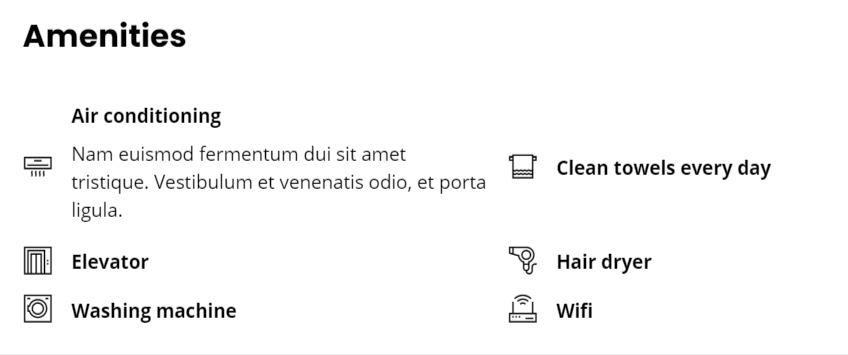
You can also use your taxonomies inside the single listing page, using the Taxonomy module. Just edit your listing type, and go to Display Single Page, use the drop-down menu to select the Taxonomy module and click the button to add new.
Example on the front-end:
Learn more about building your single listing page.
Pre-defined taxonomies
Our framework will automatically create the following taxonomies for you:
- Categories
- Regions
- Tags
You don’t need to use these, but it is a simple example, how to organize your content using the taxonomies.
Taxonomy public visibility and archive page
The archive page for your custom taxonomies work like a standard WordPress archive page. You can manage this while creating your taxonomy, just don’t forger to mark the option
For the built-in taxonomies, you can manage this by going to Listing Types Settings Listings Built-in Taxonomies.


