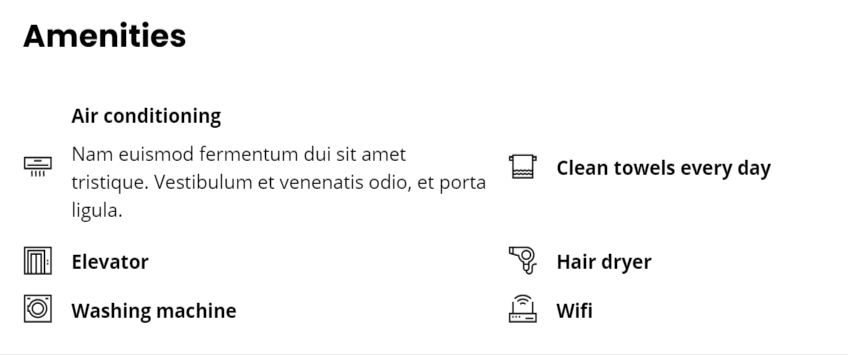
The custom taxonomies are a simple way to organize your content. When you use a taxonomy, you’re grouping similar things together. The taxonomy refers to the sum of those groups.
Example: A listing type called Cars, needs additional categorization like make & model. You can use the custom taxonomy to manage that categorization.
You can add unlimited number of taxonomies and attach it to multiple listing types.
Continue by going to Listing types Settings Listings Taxonomies and click Add taxonomy button.
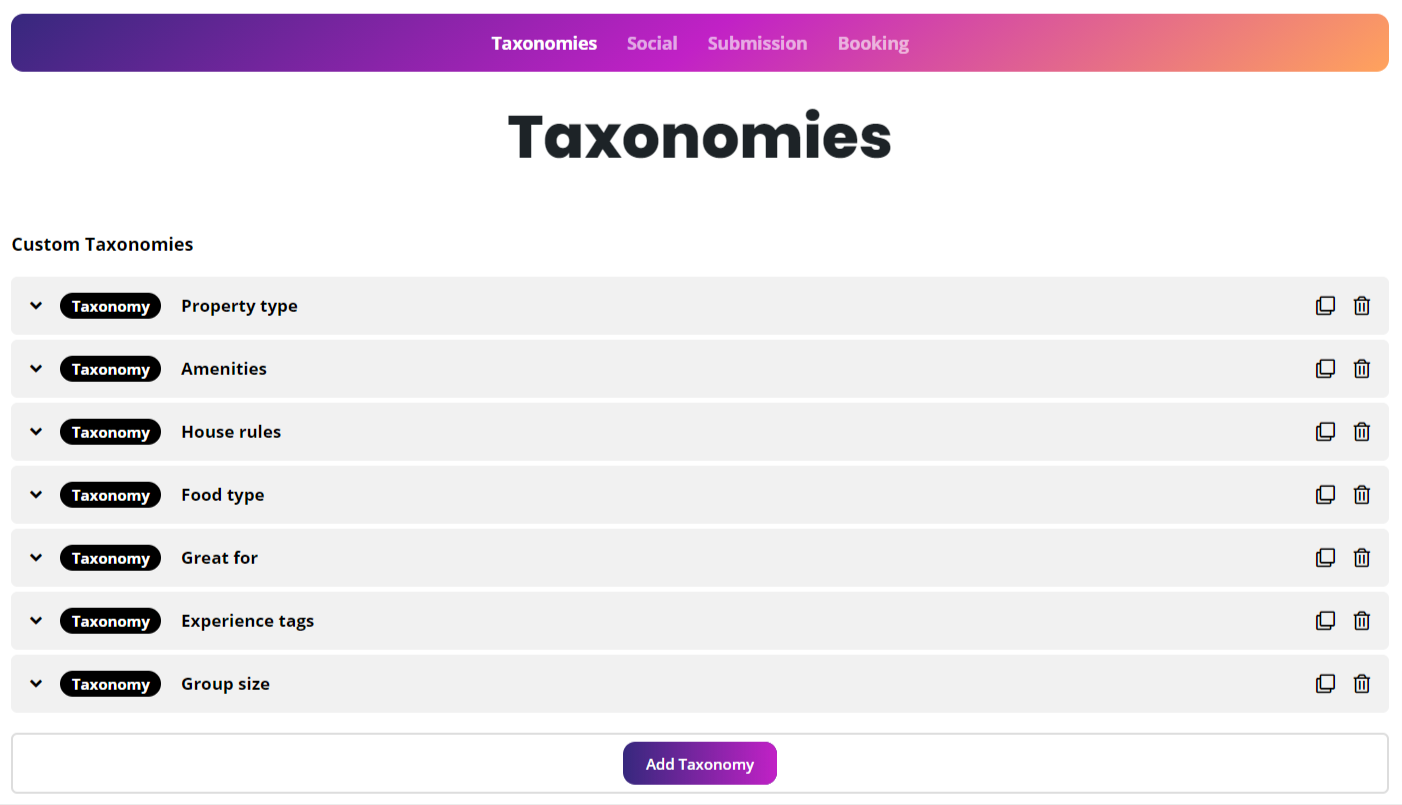
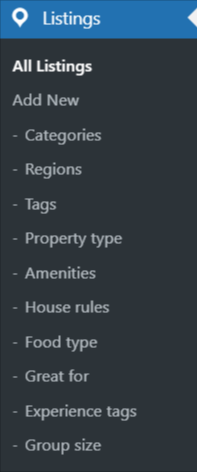
You will see all the custom taxonomies under Listings:
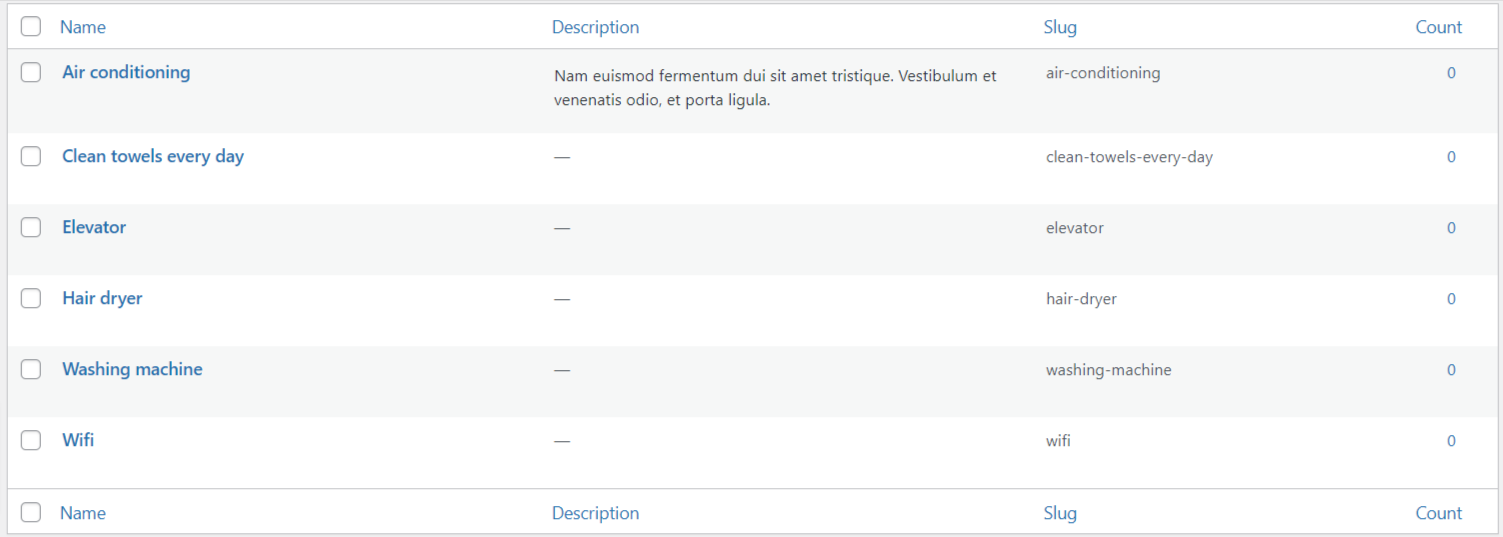
If you edit that taxonomy you will be able to add terms, just like a standard WordPress category:
There are 3 pre-defined taxonomies:
- Categories
- Regions
- Tags
How to use the custom taxonomies in your search forms?
Now that you have created the taxonomy and the terms, you can use this as a search filter. In your search forms, you can create a filter of type `taxonomy` and select the one you want to display:

You have different output options like `Checklist`, `Select`, `Select2`, `Buttons`, `Radio Buttons`.
The output:
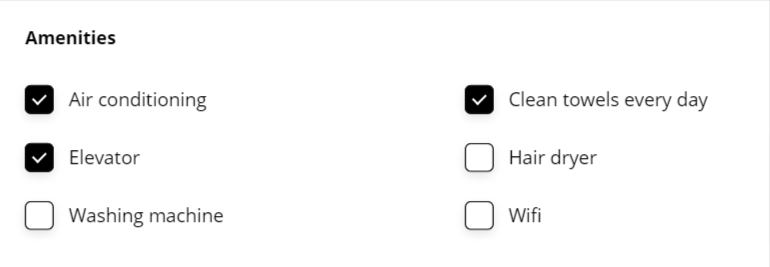
Use taxonomies inside the single listing page
You can also display the taxonomy selection in your single page.
- Navigate to Listing Types ( Edit specific listing type ) Display Single Page.
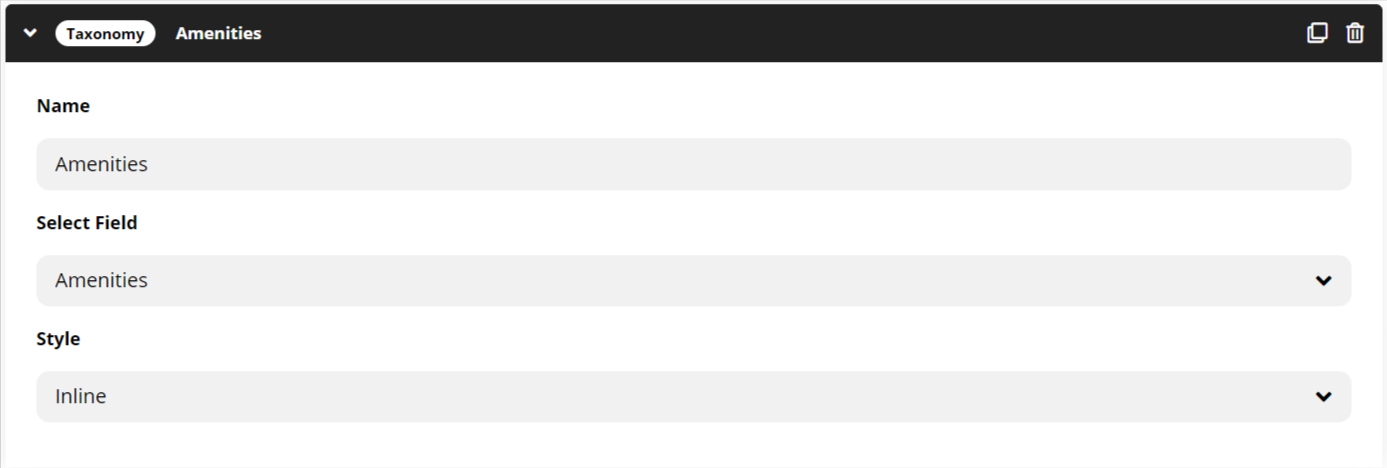
- Create a Taxonomy module and select the taxonomy one you need:
- It will automatically appear in the front-end, based on your selection:
